Troubleshoot Product Adhesion in 5 Steps.
Our recent Instagram post has received lots of support from the nail community, and it's so great to hear that many of you welcome real, theoretical knowledge as opposed to pipeline-fed marketing messages. Click here to read it.
Now that we are equipped with knowledge about the two different types of adhesion that nail technicians can take advantage of, let's take a look at the top 5 common issues in nail services that can interfere with either chemical or mechanical adhesion between the product and the nail plate.
1 Old Product Removal
Removing up to 80% of old product is an important part of ensuring the best adhesion of newly applied nail products. Even if you are using clear-based gel nail enhancement products, removing old product is important. UV/LED gel nail products, after polymerization, achieve their intended structure. However, with time and exposure to factors like sunlight (UV radiation), oxygen, and chemicals, they degrade. This degradation can affect their physical properties, causing them to wear out faster and become more prone to damage.
CARBIDE DRILL BIT - CORN / FINE 5/13 - £12.99
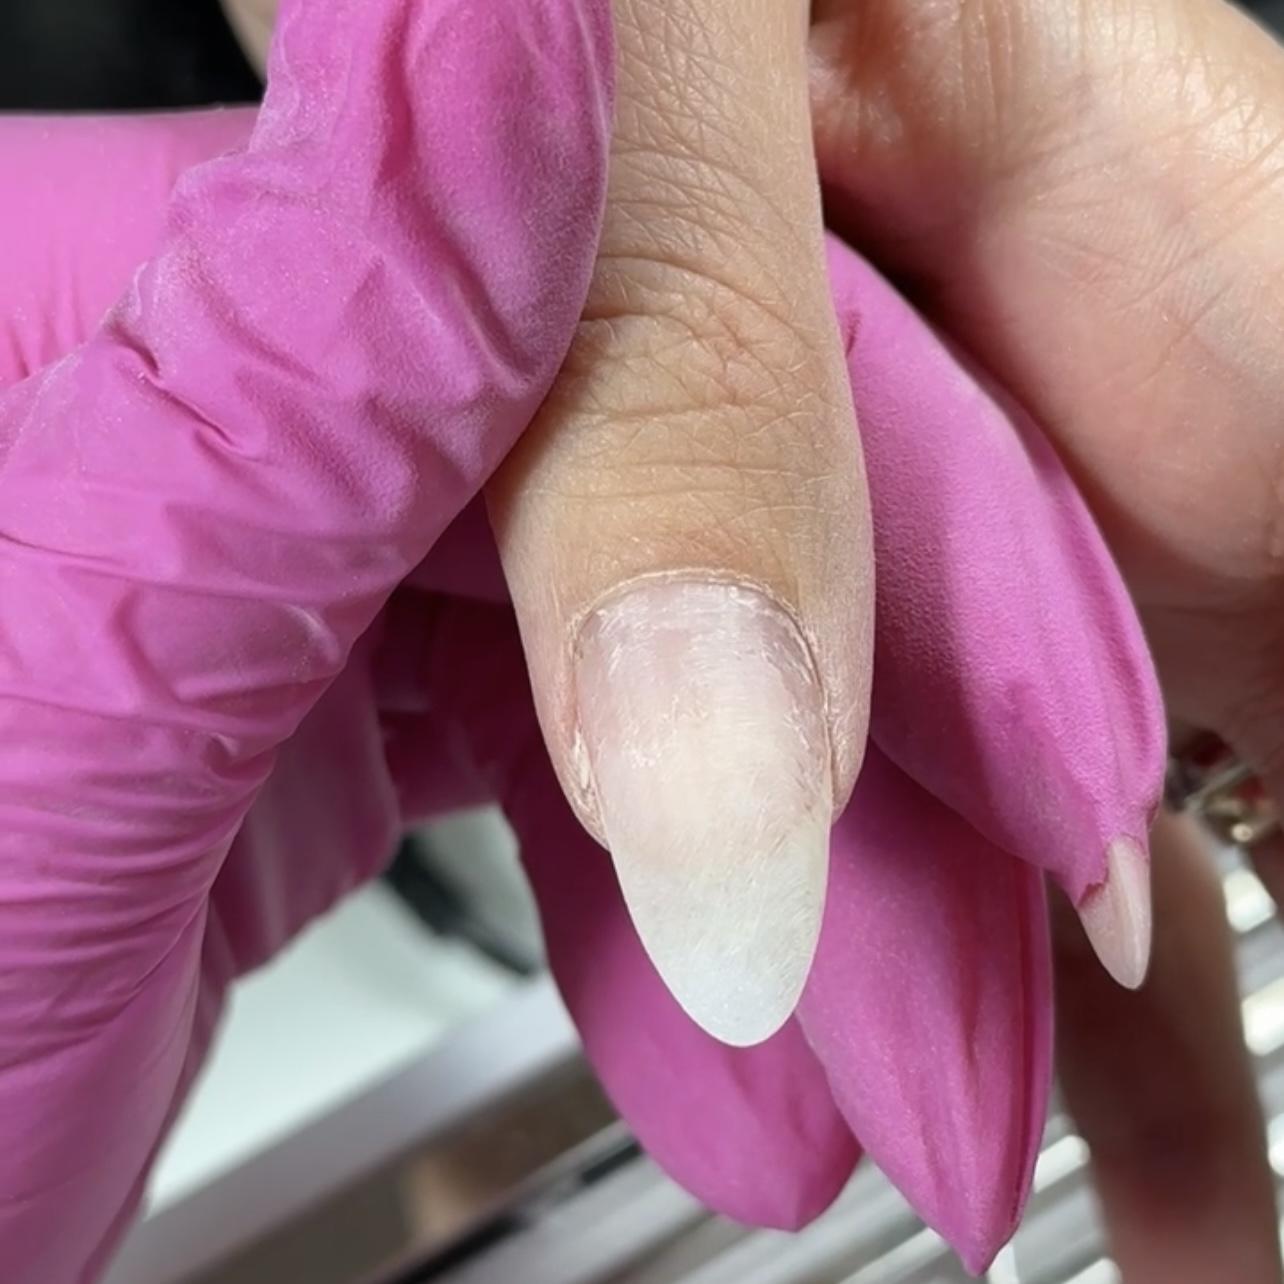
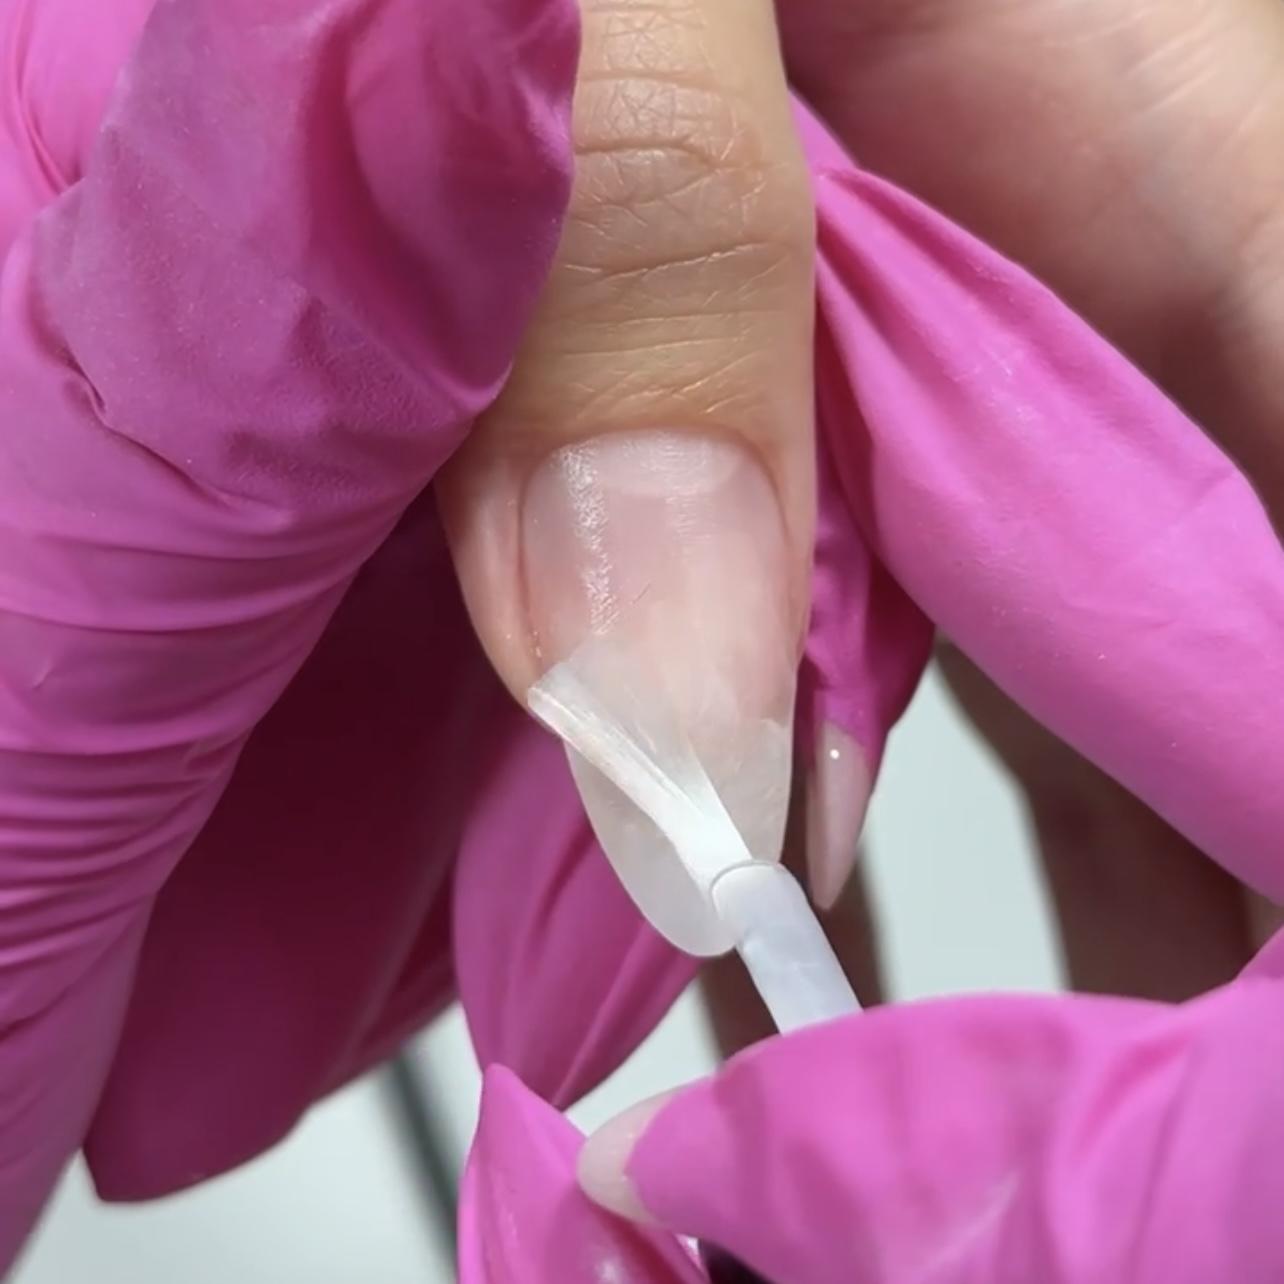
2 Prepping Sticky Cuticles
Just like nails, there are a variety of cuticle types which largely depend on the skin type your clients have. Sticky cuticles are thin and, as the name suggests, very sticky. This is why using popular prep tools can be dangerous in these cases, as they traumatize this skin type, particularly around the sinuses area. Damaging this area can result not only in pain, redness, and bleeding, but worst of all, product running. So, we recommend using a wooden cuticle pusher to push back the cuticles and an E-file bit to remove the non-living tissue.
DIAMOND DRILL BIT - DROP / RED (2.3mm/5mm) - £3.90
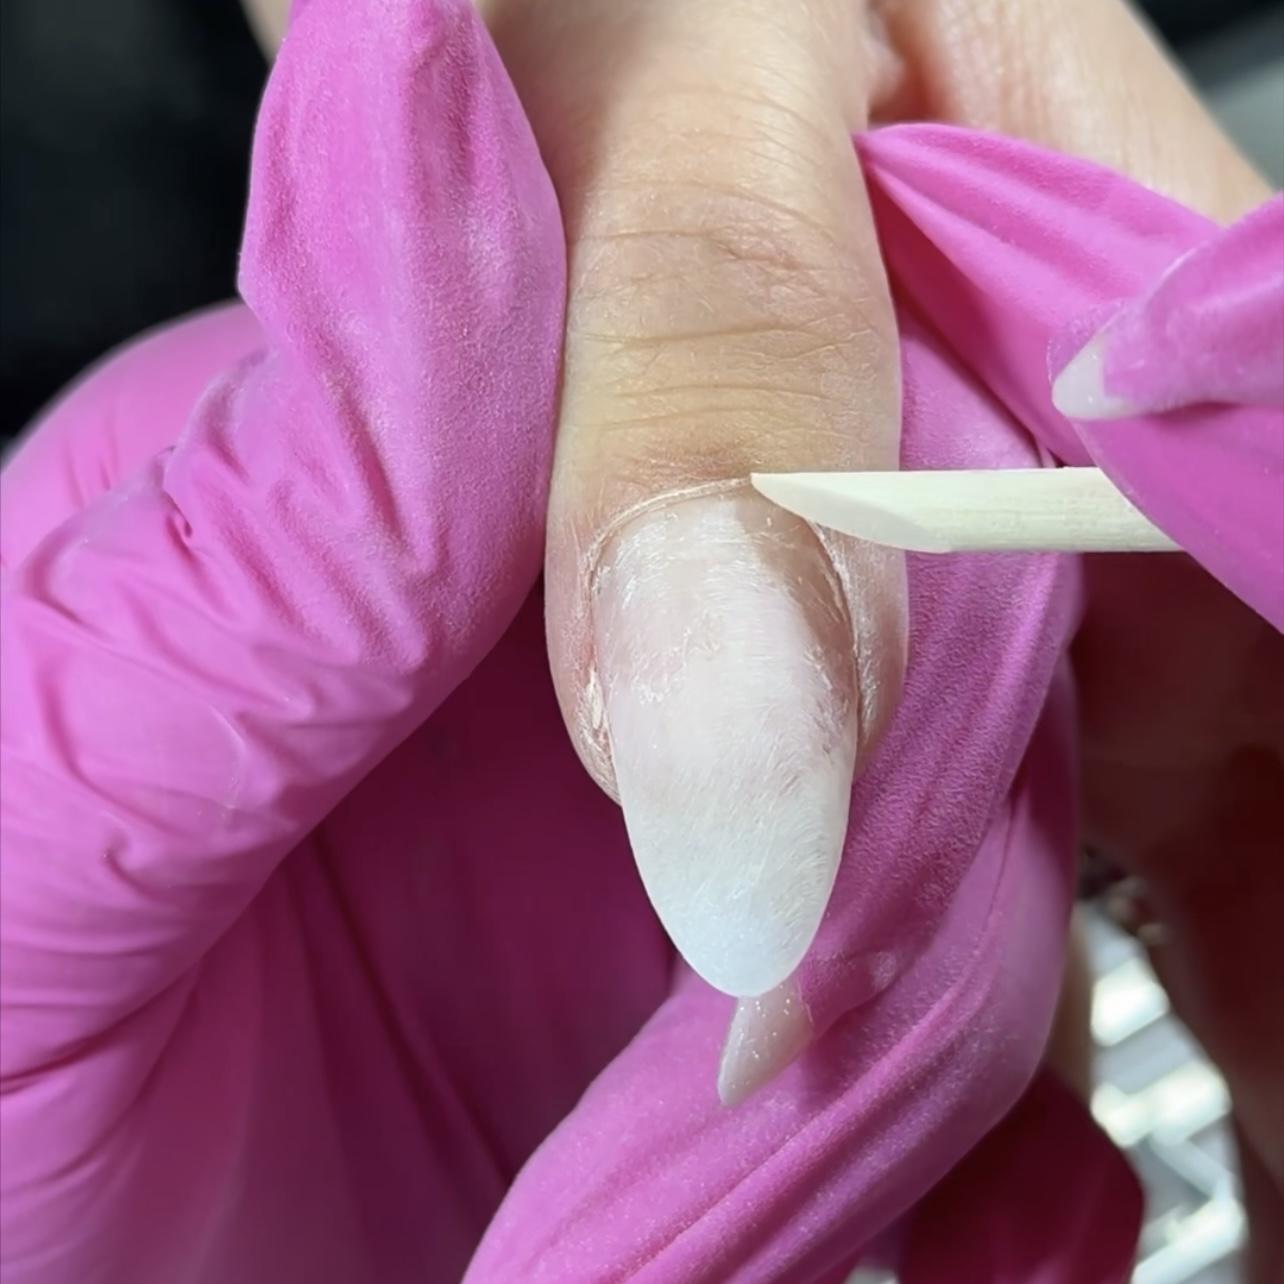
3 Trapped Dust
Trapped dust is the number one cause of product lifting or peeling around the cuticle area. So, take a lint-free wipe soaked in an IP solution (with a content of at least 75% alcohol), place it onto a cuticle pusher, and thoroughly cleanse around the entire area.
100% LINT FREE WIPES - ROSE - £5.00
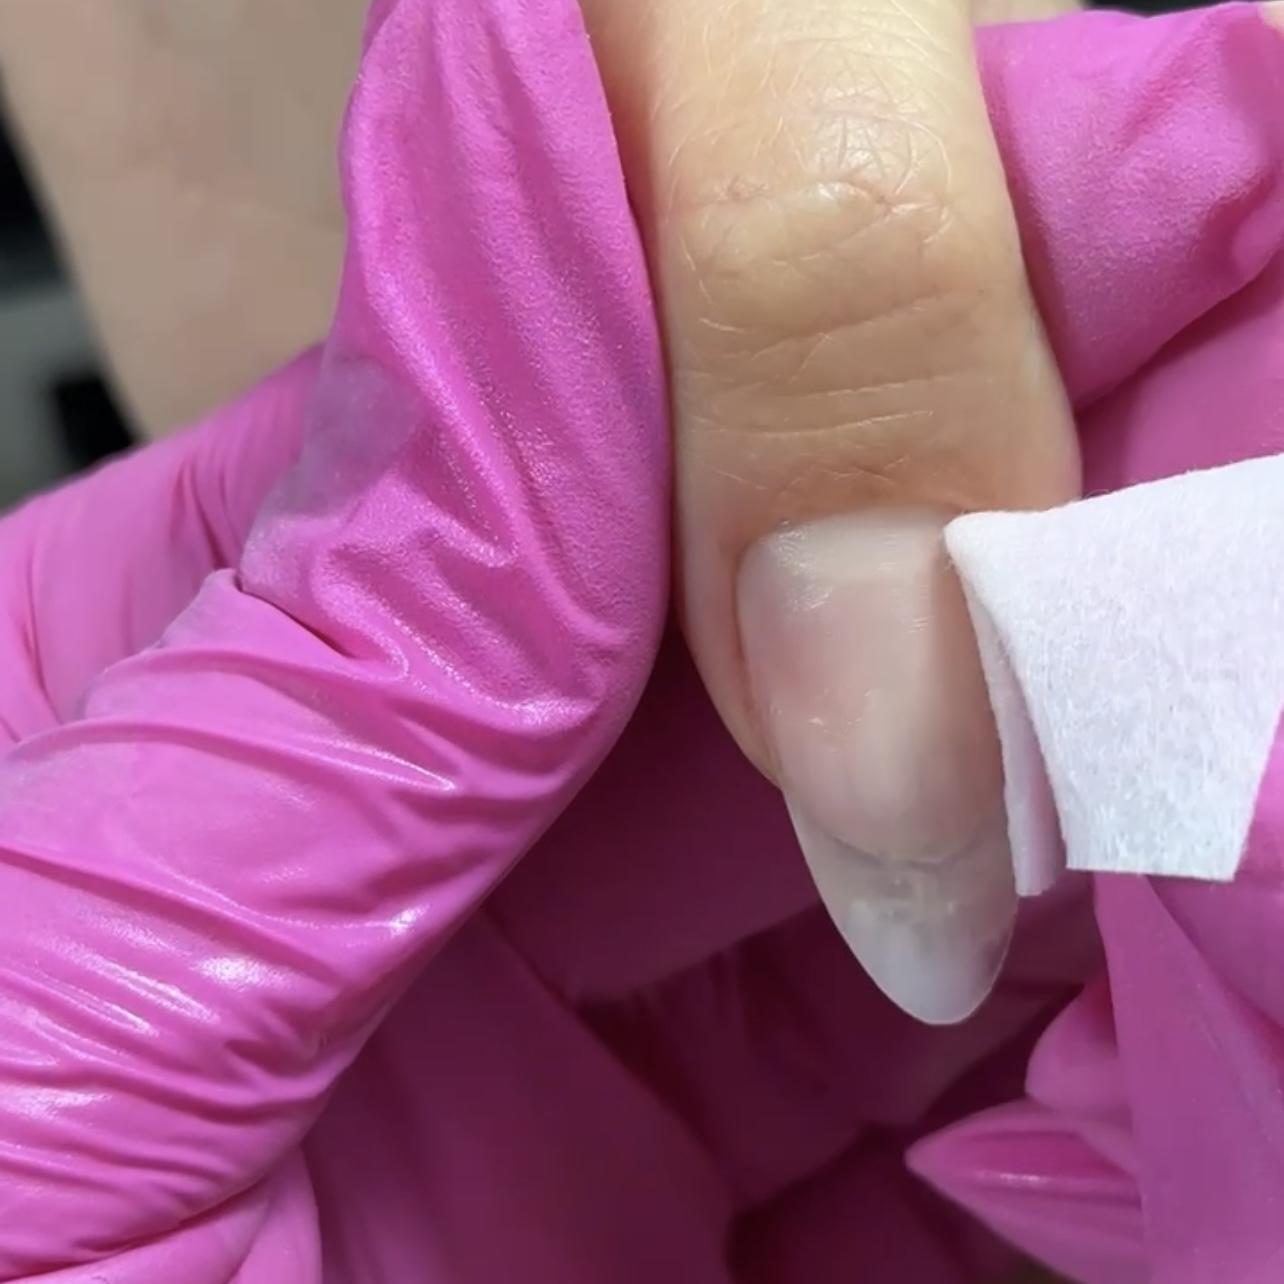
4 Wait For The Dehydrator
Ensure that the dehydrator has fully evaporated before applying your Primer. The nail plate will have a slight matte or chalky look after the Dehydrator has completely evaporated.
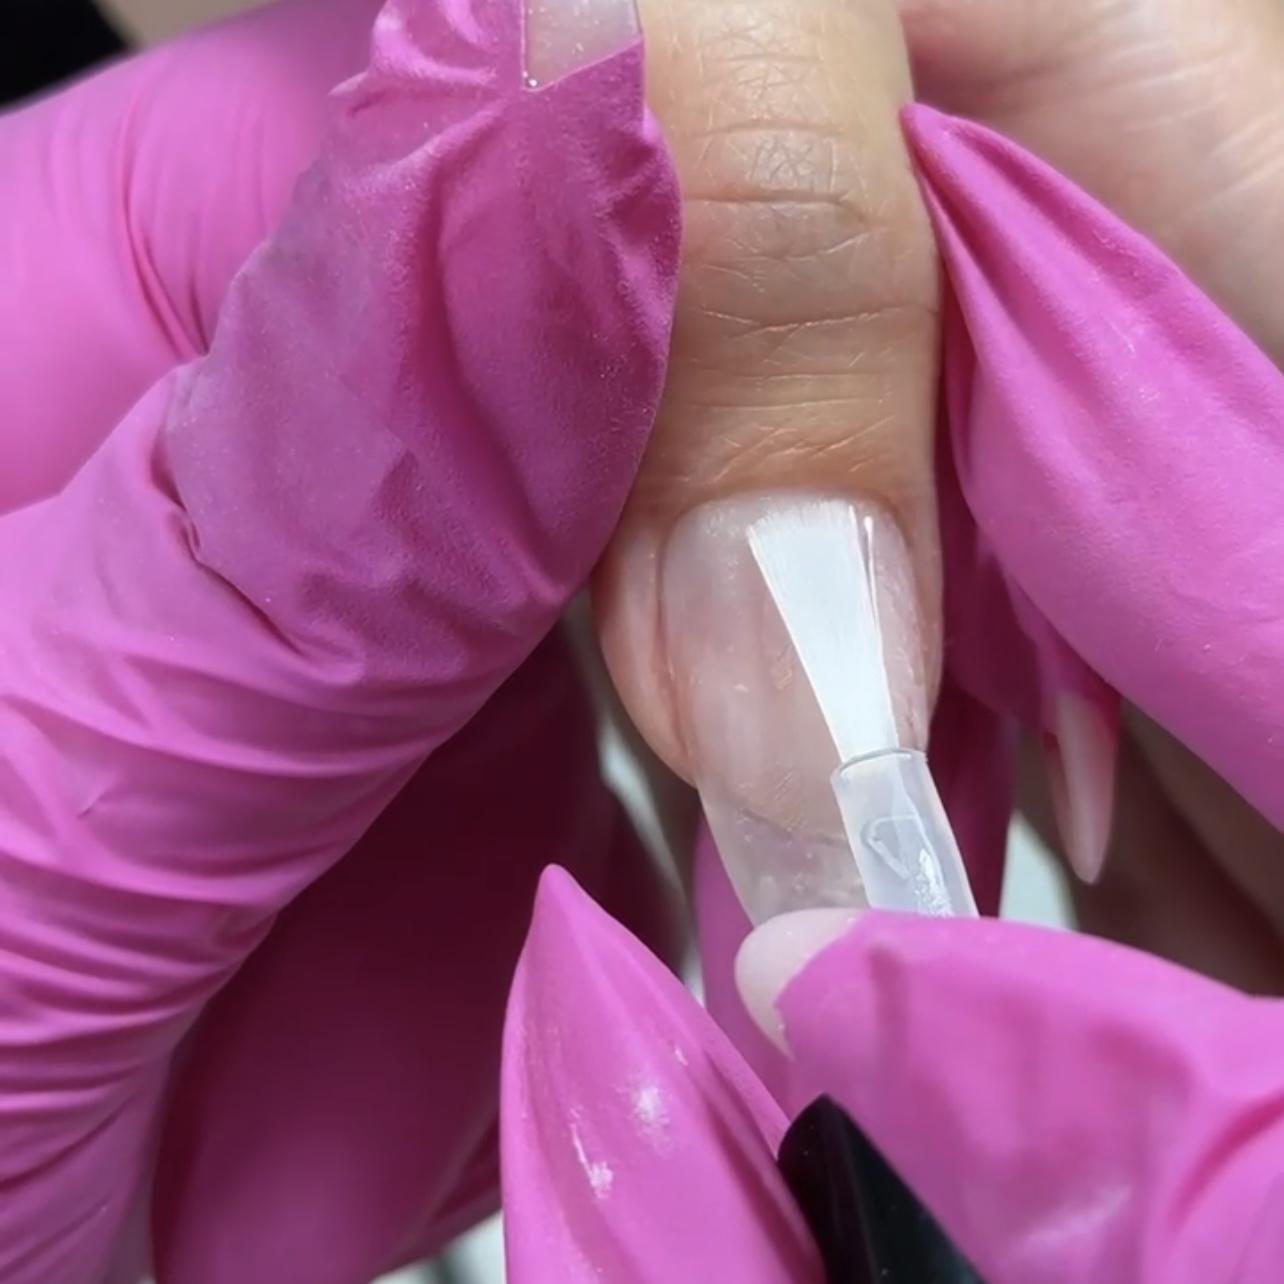
5 Apply Primer Correctly
Remove all excess product from the brush (it should be almost dry). Apply your primer only on the natural nail plate if this is an infill. Do not go over the same spot multiple times and always avoid skin contact.